Your CLICKSTAR isn't just a replacement for the factory Meade handset - it's a powerful upgrade packed with modern features. From smooth joystick control to full compatibility with our APPSTAR suite of apps for Android, iOS, and even Desktop, CLICKSTAR gives you the flexibility to control your telescope your way. Whether you're stargazing in the field or exploring from your study, these guides will help you get the most out of your setup.

By default, your CLICKSTAR is ready for Android! You can also use the desktop version if your computer supports Bluetooth 4.0 or 5.0 (built-in or via USB adapter) Try it here.

Install the Android app for Android located here. Open it, and select LINK.

You should see APPSTAR in the popup-tap it and hit PAIR.

You'll hear a confirmation tone, and you're connected!
iOS users wil have to configure a few items in order to connect. There are 2 modes available to you. Wifi AP (This is where CLICKSTAR will create a wifi network) or Wifi STA (CLICKSTAR will join the same existing wifi network as your phone).
Follow the instructions below to enable the wifi access point mode. This is useful if you are out in a remote location and do not have access to any wifi. CLICKSTAR will create it's own wifi for you to use.

Press ? for 2 seconds.

On first setup (or if no Wi-Fi is configured), press the 3 key.

CLICKSTAR will display the AP screen. On your phone, join the APPSTAR Wi-Fi network and open the app. Enter the address 192.168.4.1 to connect.

Follow the instructions below to enable the wifi station mode. If you are near your home wifi network, you can use this mode as long as your phone/tablet is also connected to the same network
If you have already configured your wifi then please continue to follow these instructions...
Press ? for 2 seconds.

If Wi-Fi is configured, press 1 to enter setup.

CLICKSTAR will attempt to connect-if successful, it proceeds automatically.

Press 7 to access the APP menu.

Here you can select Wifi AP mode (Covered in the section above), or use the STA mode. Press 9 to continue

Open the app (Get it here), enter the secondary IP address shown on CLICKSTAR into the IP field, and press OK.

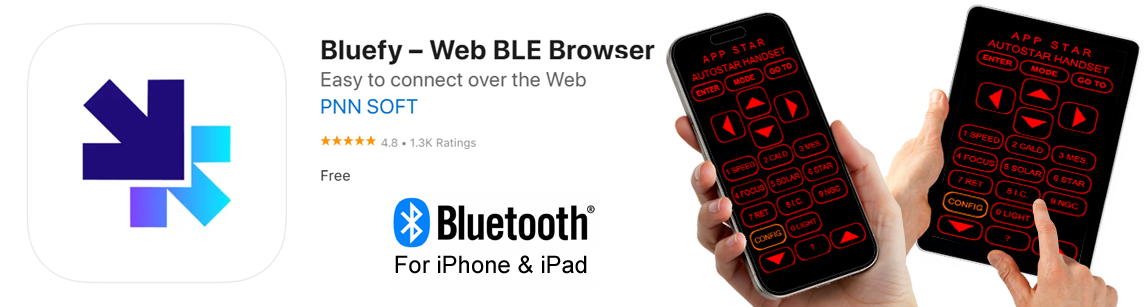
You will need to use the Bluefy Browser FREE app to run APPSTAR (click the above image to get it). Install this onto your iOS device then launch the APP for the Android devices. Yes it is the Android APP but will run within your Bluefy browser.
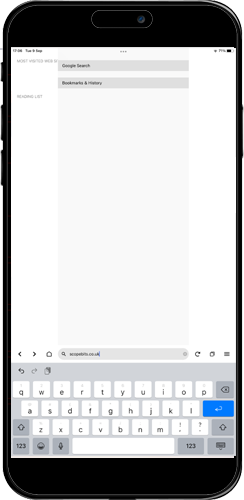
After installing the Bluefy APP
Open the Bluefy app, and then confrim any permissions. Then enter into the URL bar scopebits.co.uk
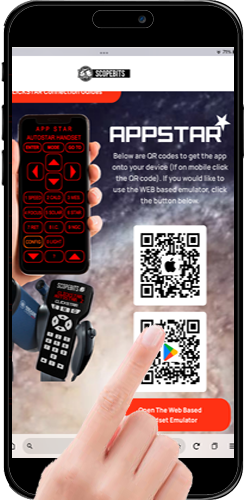
Launch the APPSTAR APP
Select the APPSTAR product page, and scroll down to the apps. Select the Android app (Yes even on iOS)
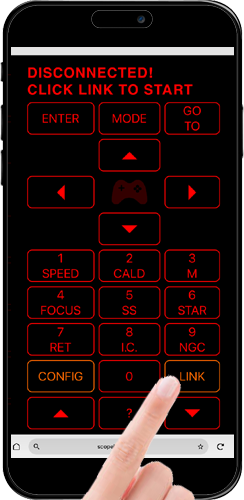
Ready to connect
Set APPSTAR to the Bluetooth mode, then press the LINK button displayed on the virtual handset.
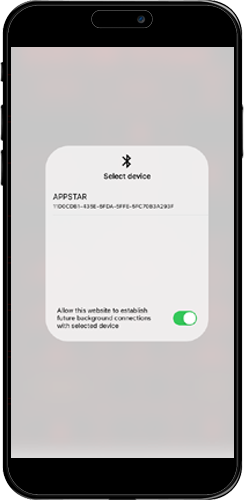
Select device APPSTAR
You will see the device APPSTAR in the box, select it.
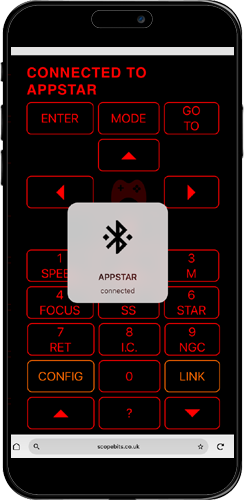
Connected!
You will then see APPSTAR connected appear. You now have control of your scope via your phone/tablet!
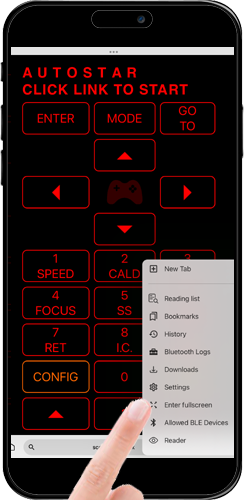
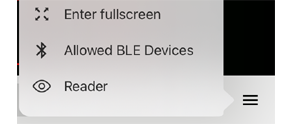
Fullscreen mode
If you prefer you can run the app in fullscreen mode, select it from the options menu in Bluefy. The option in the APPSTAR app has no effect.
If you have already configured a WiFi network, but wish to change it to another, then use this option.
Press ? for 2 seconds to enter settings.
Press 1 to go to setup.
CLICKSTAR will connect if possible.
Press 5 to delete your stored WiFi network.

CLICKSTAR will delete it.

CLICKSTAR will Reboot, and confirm the reset.
If you have already configured your wifi then please continue to follow these instructions...
Press ? for 2 seconds to enter settings.
Press 1 to go to setup.
CLICKSTAR connects to Wi-Fi automatically.
Press 4 to start the firmware update.

CLICKSTAR downloads and installs the latest firmware, then reboots.
After restarting, the update is complete.
On the back of your CLICKSTAR, there's a small hole at the top. Use a mini Phillips (star) screwdriver to gently fine-tune the contrast of the LCD.